
This is How the Pros Connect Refrigerators
Congratulations on buying a new refrigerator! Now comes the hard part: hooking it up. Don't worry, it isn't actually difficult, but modern fridges that feature water dispensers and ice makers need to be connected with kitchen plumbing.
Doing so requires a little bit of preparation and additional effort. Soon enough you will be enjoying your new appliance at home in Fort Lauderdale, FL. Want to know how it's done? Here's a guide to how the experts install new refrigerators.
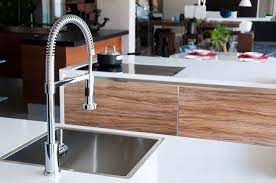
Water Dispenser
 Finding a nearby cold-water supply is the first thing that needs to be done. Kitchens often have them under the sink.
There's also a chance you might get lucky, and there will already be a water supply valve behind the area where the fridge will be installed.
If that's the case, just make a direct connection, and you're done. Otherwise, once you've located a water supply, follow these instructions.
Step 1: Plan Out the Piping Path
This depends entirely on how the kitchen is laid out. If you're able to run piping through cabinets, it may make things easier. In cases where it's not possible, you will have to run the piping below the floor. Either way, be sure to record accurate measurements so you know exactly how much piping you will need to complete the project.
Step 2: Turn Off the Water in the Kitchen
Shut off the water using the valve at the supply and run a faucet until the pipes are empty. This will reduce the amount of water that may leak while you conduct the installation.
Step 3: Connect an adapter to the water supply
There are three types of adapters you can use to connect your fridge with the water supply: a soldered tee-fitting, a compression tee-fitting, and a saddle valve. If you've purchased a DIY kit, it's likely to contain a saddle valve. We strongly recommend you don't use these. Saddle valves don't function particularly well and are often of poor quality.
Many states don't allow licensed plumbers to install them. Instead, you should use a tee-fitting. Soldered tee-fittings, made by hand, are stronger than pre-made compression tee-fittings, but both will work just fine.
Once you've selected a type of tee-fitting, disconnect the kitchen sink faucet from the water supply and connect the tee-fitting. Next, connect the faucet to the tee-fitting, giving both the appliance and faucet access to water.
Step 4: Attach Piping to Tee-Fitting and Refrigerator
Hook up the piping to the third and final connection in the tee-fitting and run it along the path you previously planned out. Link it up with the last connection behind the fridge. The installation is complete. Turn the water back on and look carefully for leaks at the tee-fitting and along the piping.
Once you're able to confirm the connections are good, you should test them by running a few gallons of water and making a couple buckets of ice. If the devices work well, keep doing this until you get clean water running through them.
Ice Maker
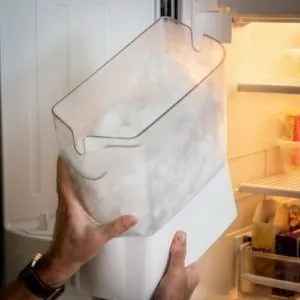 In newer refrigerators, the water dispenser and ice maker share a single water line.
Therefore, if you successfully followed the instructions above, you should already have a fully operational ice maker.
Getting Help from an Expert
 Kitchen plumbing projects can be scary, and if you need help, you should ask.
Experienced plumbers will always be ready to lend a hand.
Contacting a specialist to take over a project can be beneficial as well and ensure your new appliance will be installed correctly.
Don't be afraid to seek help.